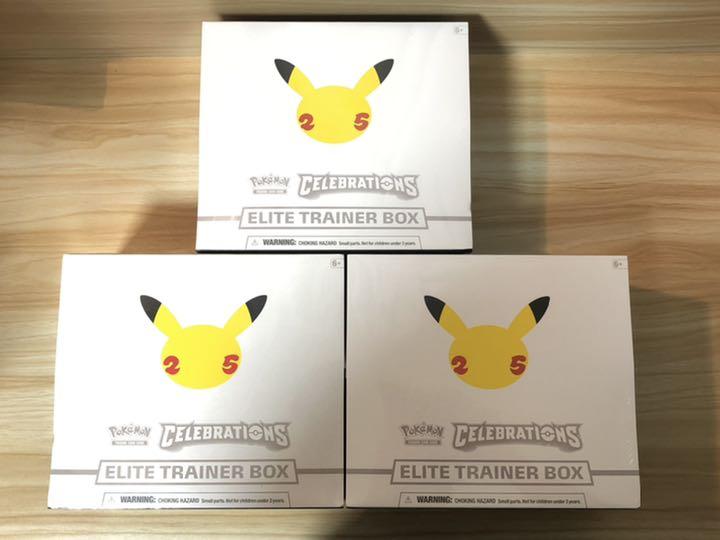
新品・未開封 ポケモンカード 海外 エリートトレーナーボックス 3個 セット
(税込) 送料込み
商品の説明
新品・未開封です。
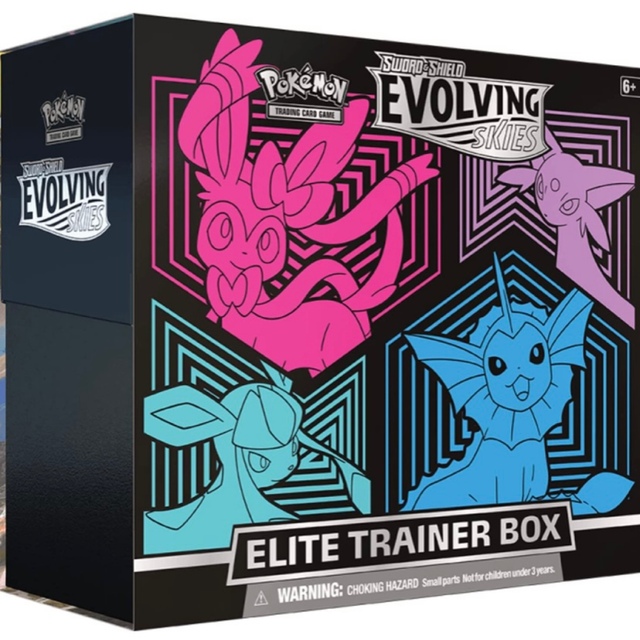
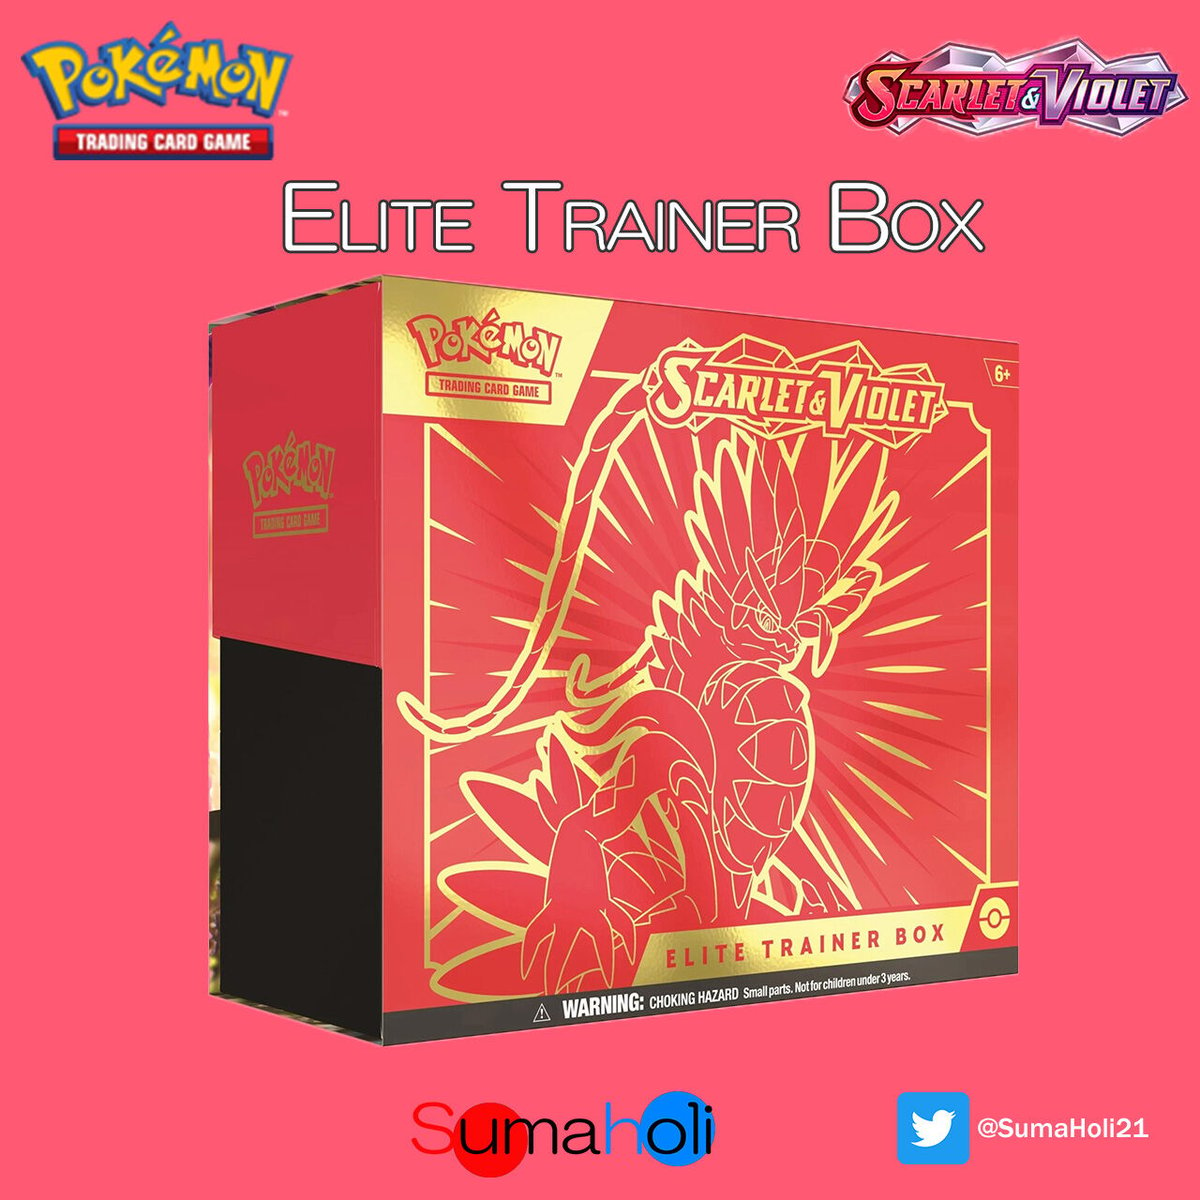
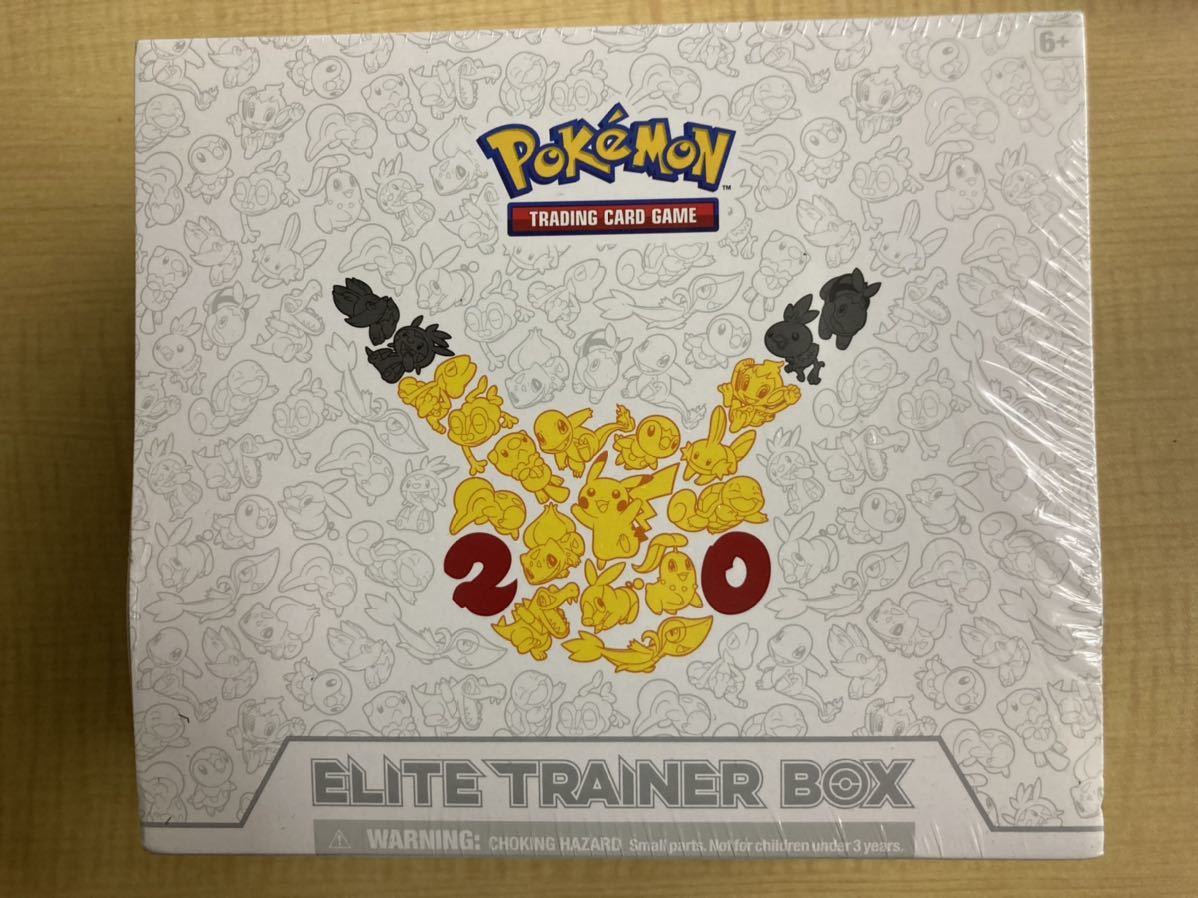
海外版ポケモンカード25周年記念のエリートトレーナーボックス3個セットです。
海外製品ですので、元々箱に細かな傷等がある場合がありますので、予めご了承ください。
商品状態については画像をご確認頂き、不明な点がございましたら、事前にメッセージ下さい。
箱に入れて発送いたします。商品の情報
| カテゴリー | おもちゃ・ホビー・グッズ > トレーディングカード > ポケモンカードゲーム |
|---|---|
| 商品の状態 | 新品、未使用 |
新品・未開封 ポケモンカード 海外 エリートトレーナーボックス 3個

新品・未開封 ポケモンカード 海外 エリートトレーナーボックス 3個

海外限定】ポケモン エリートトレーナーBox | labiela.com

海外限定】ポケモン エリートトレーナーBox | labiela.com
海外限定】ポケモン エリートトレーナーBox | labiela.com

ポケモン 25周年記念セレブレーション エリートトレーナーボックス

海外限定】ポケモン エリートトレーナーBox | labiela.com
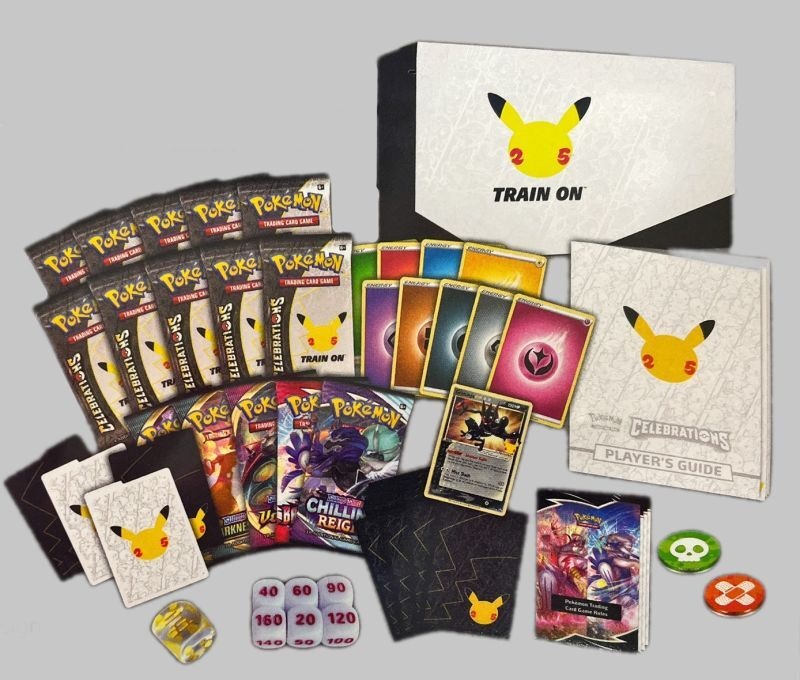
未開封》【ポケカ】CELEBRATIONS ELITE TRAINER BOX(海外)[詳細画像

海外限定】ポケモンカードゲーム エリートトレーナーボックス ロスト
ポケモンカードゲーム スカーレット&バイオレット エリートトレーナー
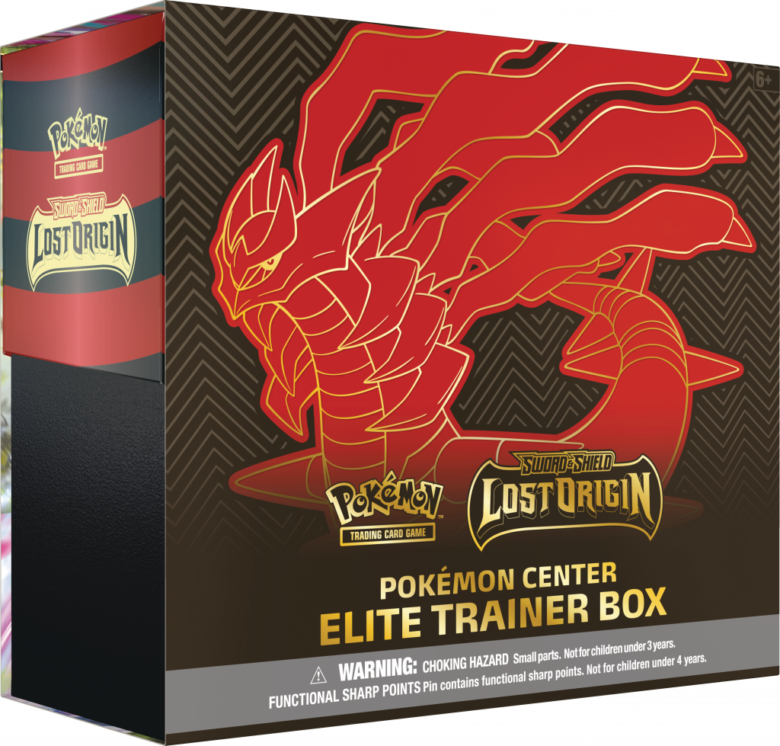
海外限定】ポケモンカードゲーム エリートトレーナーボックス ロスト
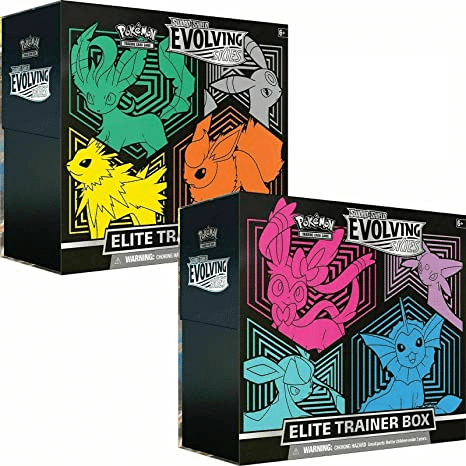
海外のポケモンカードゲーム拡張パック「Evolving Skies」ボックス開封
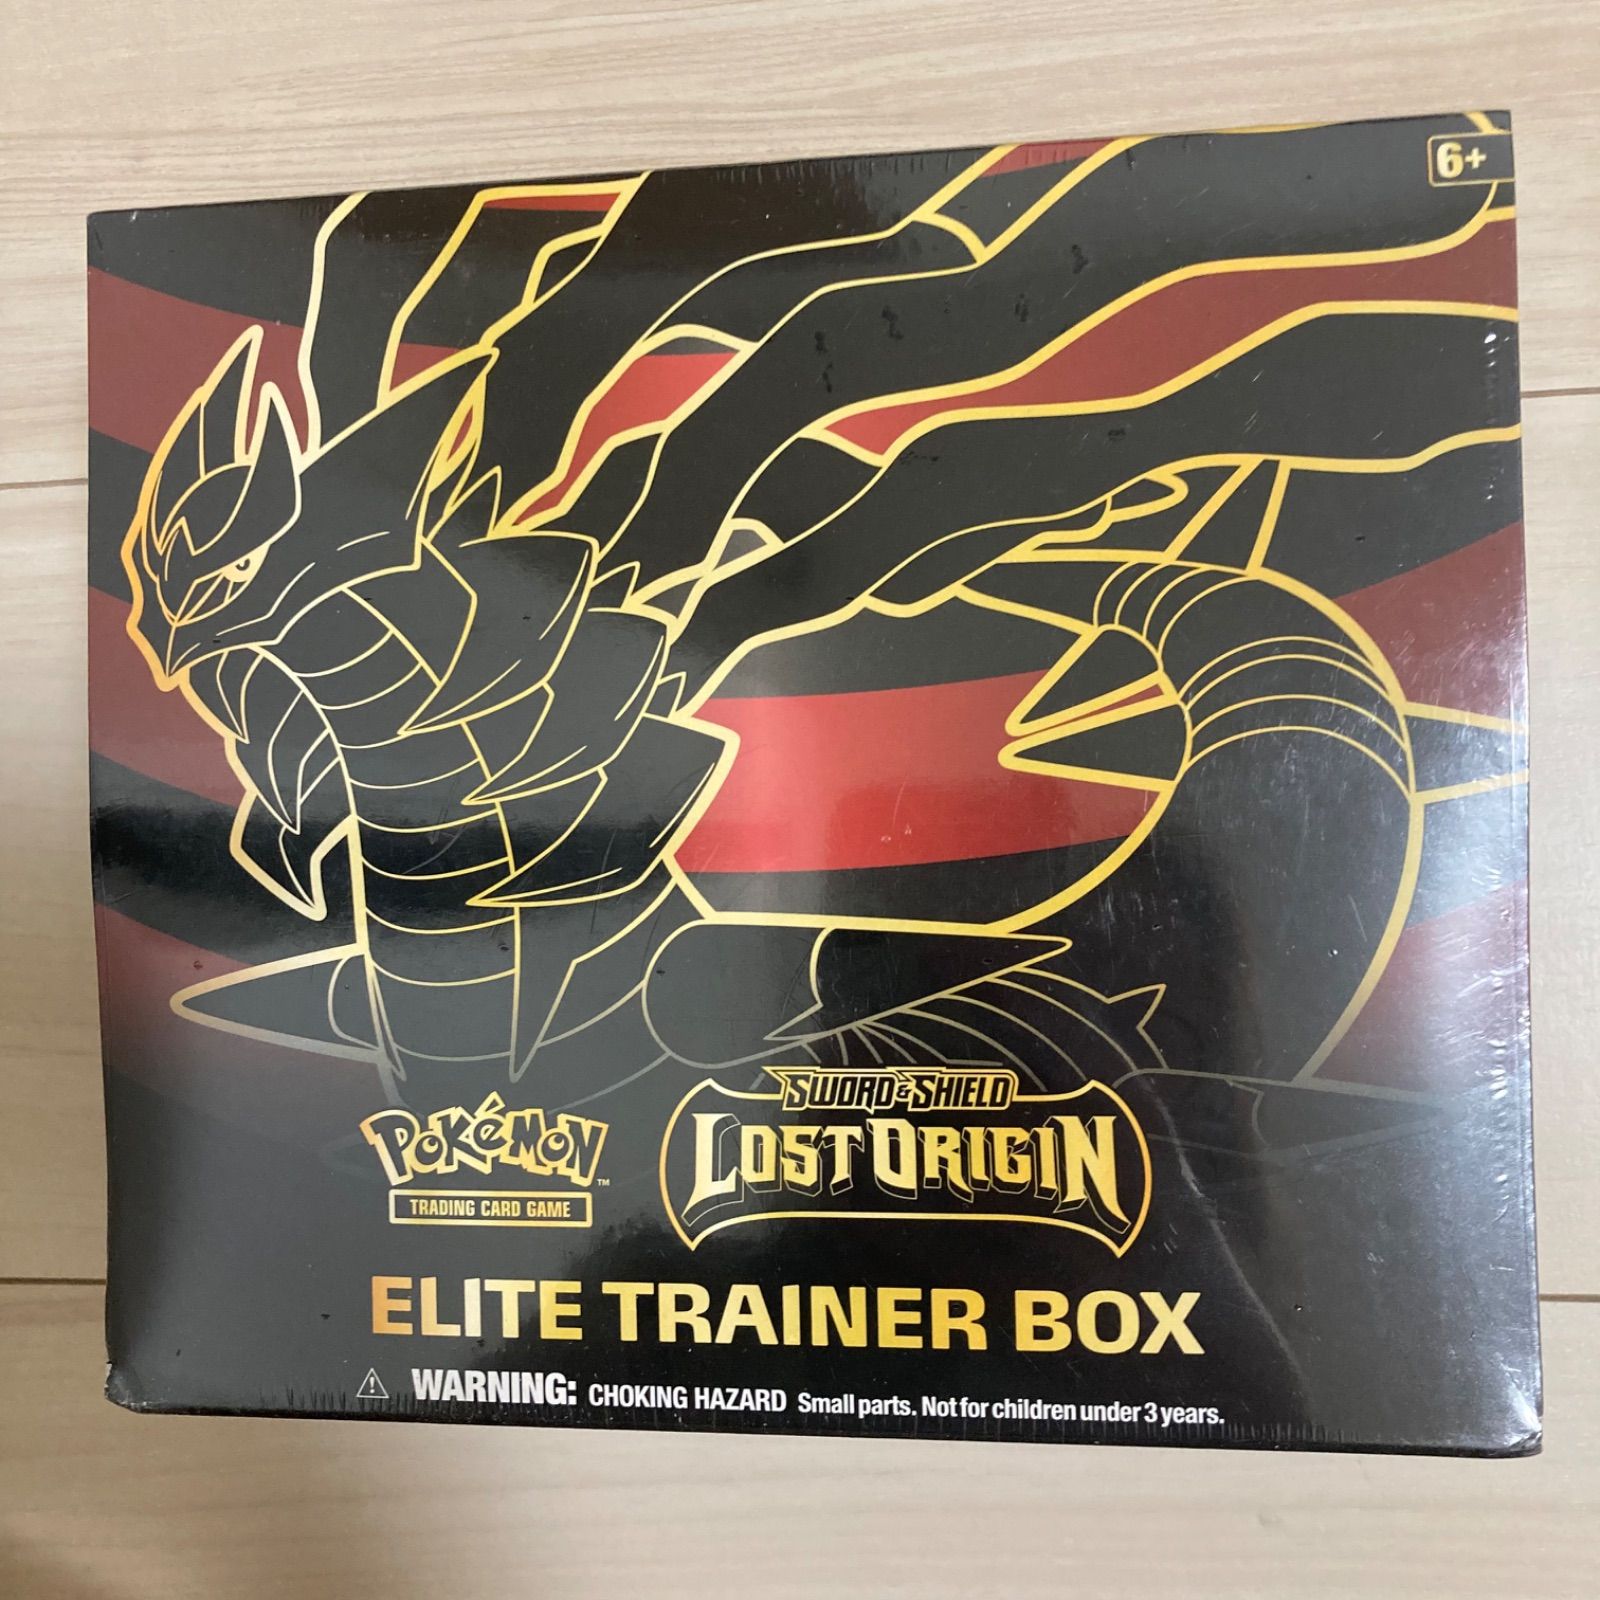
海外限定】ポケモンカードゲーム エリートトレーナーボックス ロスト

エリートトレーナーボックスの値段と価格推移は?|49件の売買データ
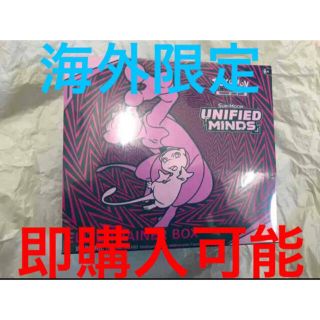
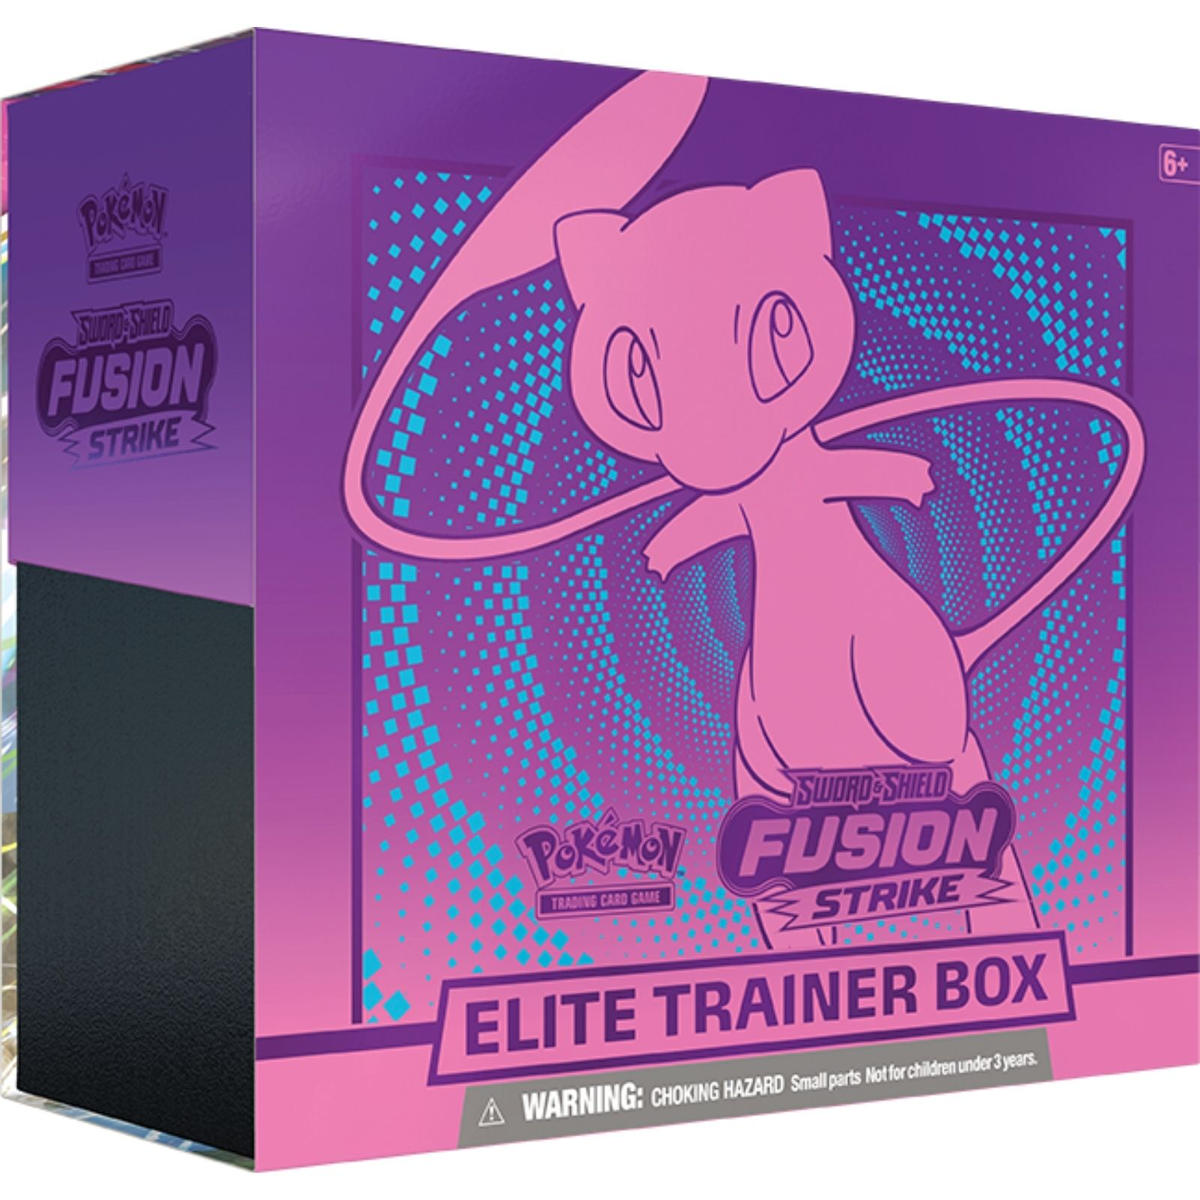
ポケモンカード 海外 エリートトレーナーボックス ミュウ
海外限定】ポケモン エリートトレーナーBox | labiela.com

ポケモン 25th 海外ポケモンセンター限定 エリートトレーナーボックス

Amazon | ポケモンカードゲーム ソード&シールド プレミアム

☆ギラティナ☆ 海外ポケセン lost origin エリートトレーナーボックス

2023年最新】エリートトレーナーボックスの人気アイテム - メルカリ

海外限定】ポケモンカードゲーム エリートトレーナーボックス ロスト
ポケモンカードゲーム Scarlet & Violet Elite Trainer Box (...

Yahoo!オークション - ポケモンカード 海外 英語版 20周年 GENERATIO...
ポケモンカードゲーム Celebrations Mini Tin 海外 拡張パック 25th
ポケモンカード 海外 エリートトレーナーボックス ミュウ
海外のポケモンカードゲーム拡張パック「Evolving Skies」ボックス開封

海外限定】ポケモン エリートトレーナーBox | labiela.com

ポケモン エリート トレーナー boxの値段と価格推移は?|3件の売買

ポケモンカード海外版のカード販売・通販 | magi -トレカ専用フリマアプリ-

海外限定】ポケモンカードゲーム エリートトレーナーボックス ロスト
Yahoo!オークション - ポケモンカード 海外 英語版 20周年 GENERATIO...

楽天市場】プレミアムトレーナーボックスex ポケモンカードゲーム

Amazon.co.jp: ポケットモンスター トレーディングカードゲーム

ポケモンカード 海外 リザードンV SR プロモ 争奪戦 エリート

海外限定】ポケモン エリートトレーナーBox | labiela.com
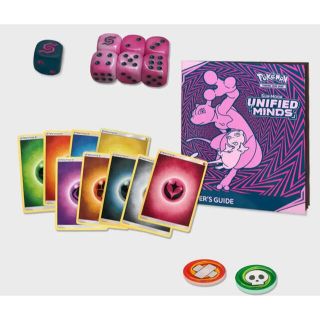
ポケモンカード 海外 エリートトレーナーボックス ミュウ&ミュウツー
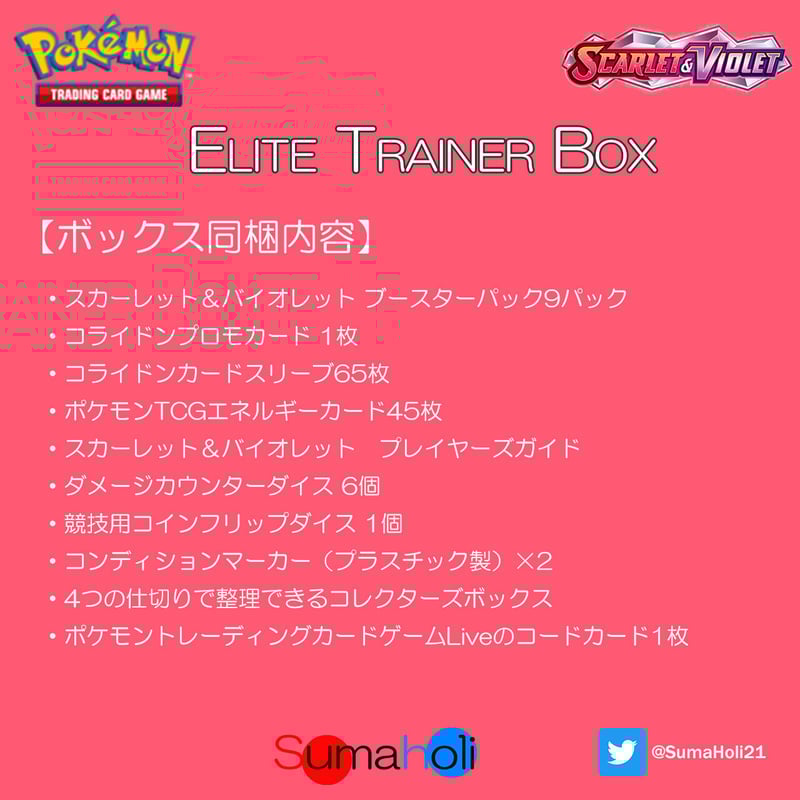
ポケモンカードゲーム Scarlet & Violet Elite Trainer Box (...
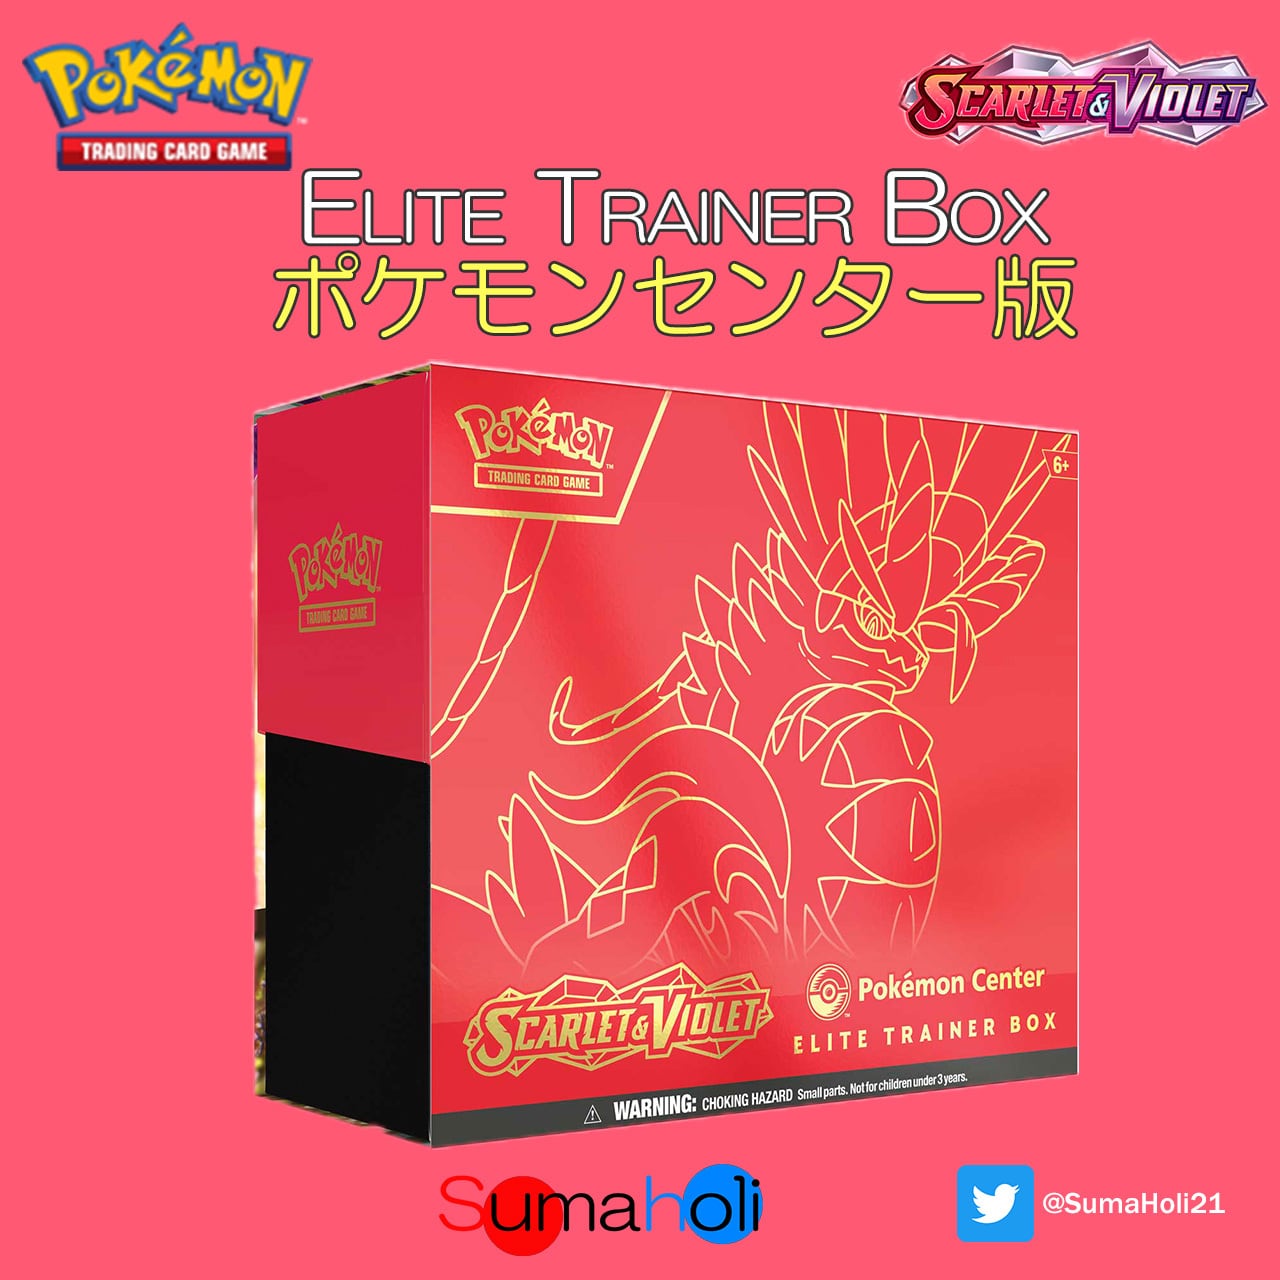
ポケモンカードゲーム Scarlet & Violet Pokémon Center Elite Trainer

駿河屋 - 【買取】ポケモンカードゲーム ソード&シールド Pokemon
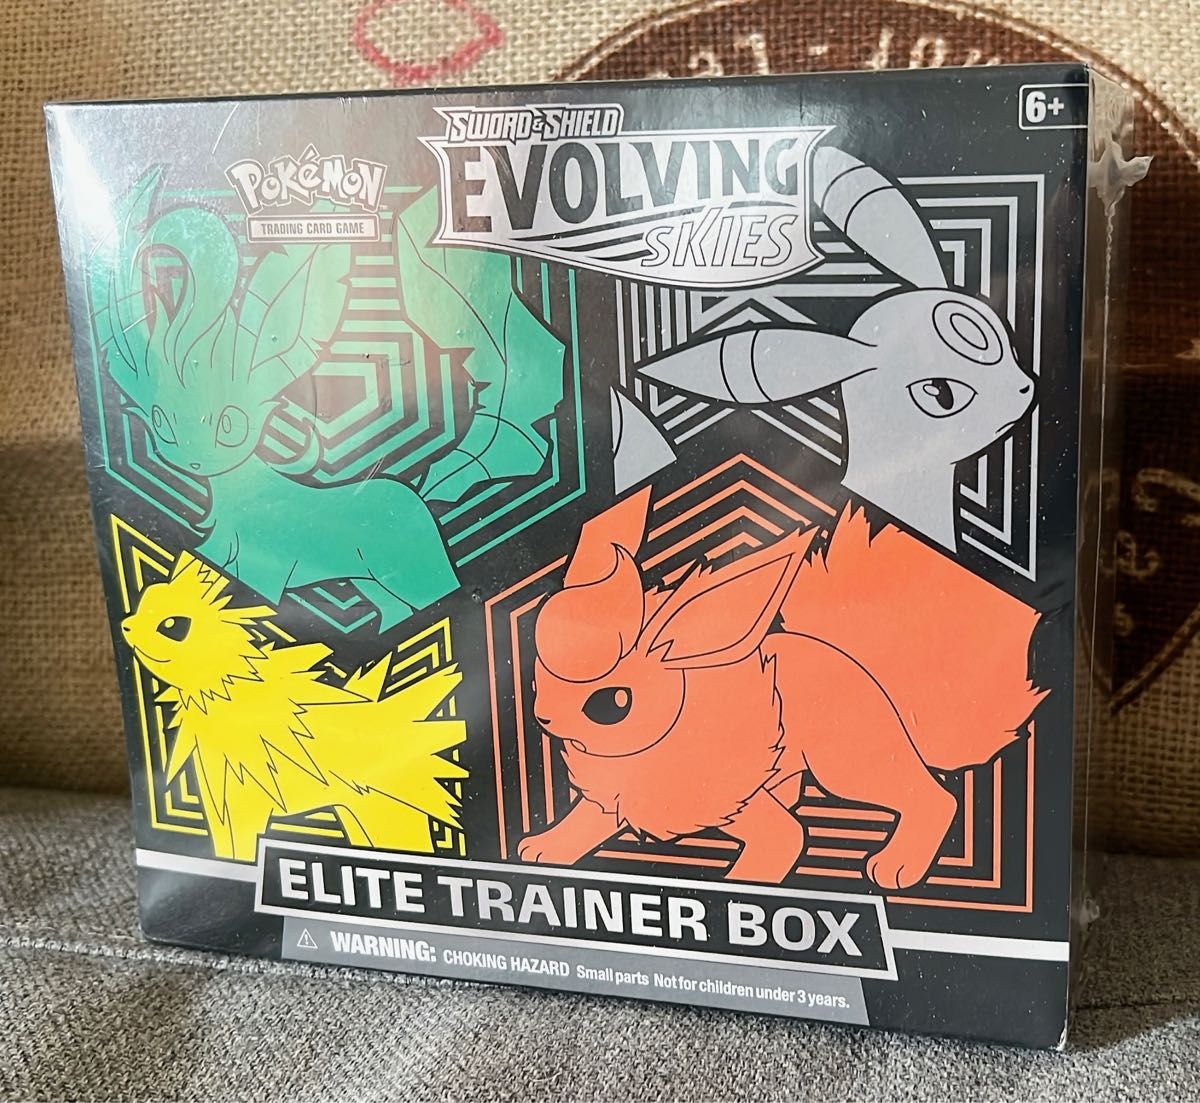
ポケモンカード 海外版 Evolving Skies エリートトレーナーBOX


商品の情報
メルカリ安心への取り組み
お金は事務局に支払われ、評価後に振り込まれます
出品者
スピード発送
この出品者は平均24時間以内に発送しています


